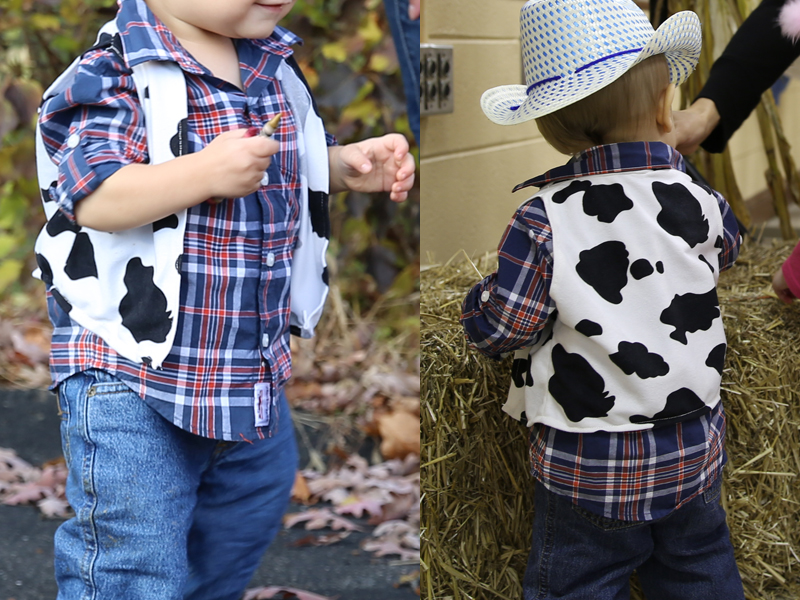
Our Baby Boy needed a cowboy outfit to wear to his birthday hoedown and a DIY Woody vest was the perfect addition. A baby cowboy costume is just too cute! I wanted to keep it simple and tasteful. I already had a pair of jeans, a plaid shirt, and a cowboy hat in Baby Boy’s closet. But his outfit needed a little something to make it extra special – he was the birthday boy after all! So, I made him a vest out of cow-print fabric. For more baby play ideas, check out our fun ideas!
Here are more of our party ideas to check out as well.
baby cowboy costume
I want everyone to know I am NOT a seamstress – by any means. This cowboy vest was not perfect. It had wobbly seams, and the fabric pieces did not perfectly line up….OK that’s not even the worst of it.
To be honest, the final vest was actually my second attempt at the project. I may have accidentally sewn together the arm holes on the first vest. Like I said, I’m no seamstress!
That being said, the final product still looked cute. No one at the party was examining my sewing (as far as I know.) And remember, I made this vest for a kid who still likes eating dirt – perfect seams are not one of his top priorities.
So here’s how I did it.
How to make a baby cowboy costume
The key to a baby cowboy costume is to use items that are comfortable like jean leggings, or jeans and a shirt that the baby is already used to wearing. Add a pair of baby sized cowboy boots or booties and you’re all set. The only thing to add is a cowboy hat and a cowboy vest.
I couldn’t find a free pattern for a vest, so I traced a suit vest that Baby Boy wore to a wedding. I wanted to get the general shape of a vest, but I made my vest longer than the suit vest.
If you don’t have a vest in your kid’s closet, you could just trace a t-shirt and then cut it down the front to turn it into a vest. Just trace it a couple inches wider than the shirt to give enough fabric to create the two extra seams in the front.
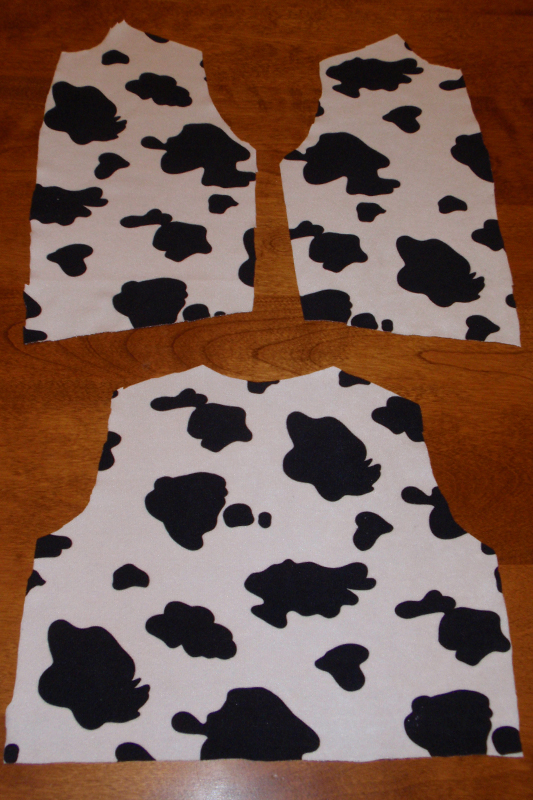
I gave myself a one inch margin around the vest when I was tracing. This gave me enough space to sew the seams, and it helped to make sure I wasn’t making the vest too tight.

I then cut out each of the pieces of the vest.
I pinned down the material along the arm holes (of both the front and back panels) and sewed those seams first. I tried to make the seams about a 1/2 inch.
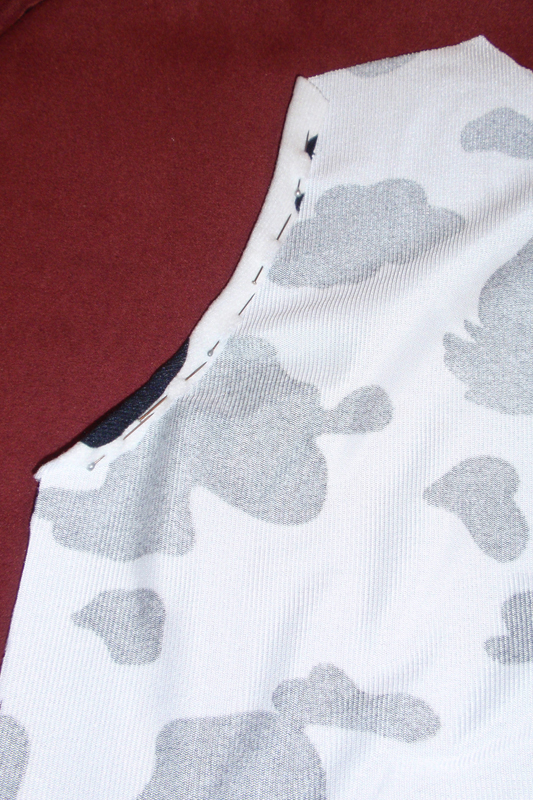
I then did the same to the neck hole of the front and back panel. The neck area was definitely the most difficult part.

Then, I pinned the front and back panels together while they were still inside out. I sewed them together along the side and shoulder seam.
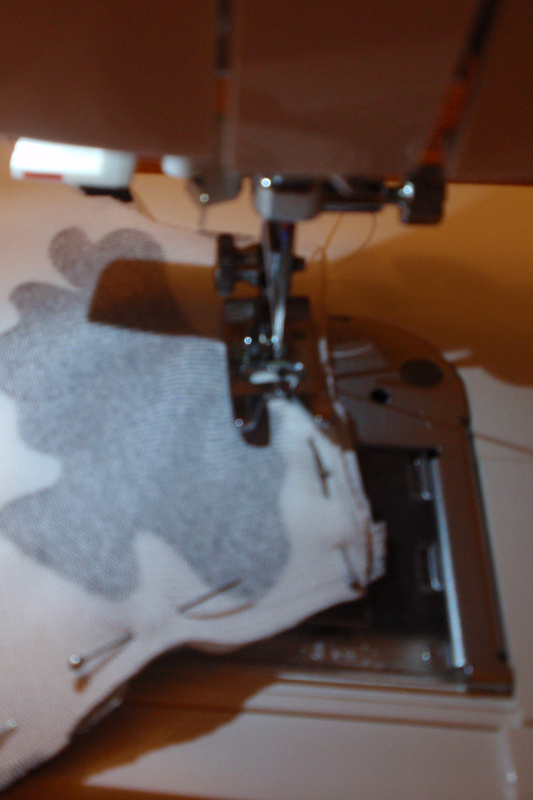
I don’t know how a “real” sewer would do this, but I took the pins out as the machine got close to the pins because they were getting in my way.
The picture below shows the front panel attached to the back panel. I then pinned down the front seams (also shown in this picture) and sewed those.
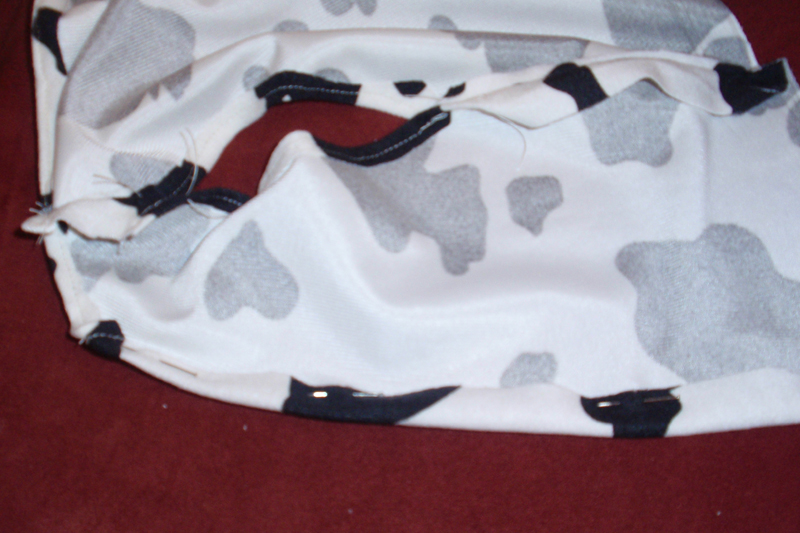
The last seam to be sewn was the bottom seam.
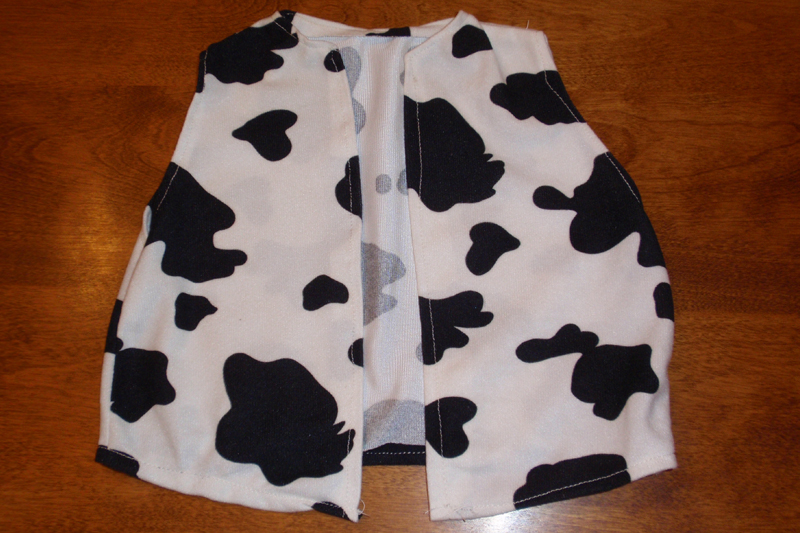
Take a look at the final baby cowboy costume project:
Making this vest actually didn’t take me too long. It would have taken even less time if I hadn’t accidentally sewn the arm holes together during my first go at it.
I think the moral of this blog is don’t be afraid to do some simple sewing. Take a look at how something is sewn together, trace it, and try your best to put the pieces together. If you’re making it for a child, they wont notice the imperfections. Cute babies can work any outfit!


1 thought on “Baby Cowboy Costume”
You did a great job. For future reference I even pinned this to my DIY craft board. Thank you for sharing and for linking up to the Empowered Living hop, hope to see you back again.
Comments are closed.